Lighting, ShaderGraph and Tutorial 5 - KIT207
Lighting and Post Processing
Since I already had messed with the lighting and got a somewhat "realistic" setting in my scene already as I was working through the previous devlogs, I will just explain what I did.
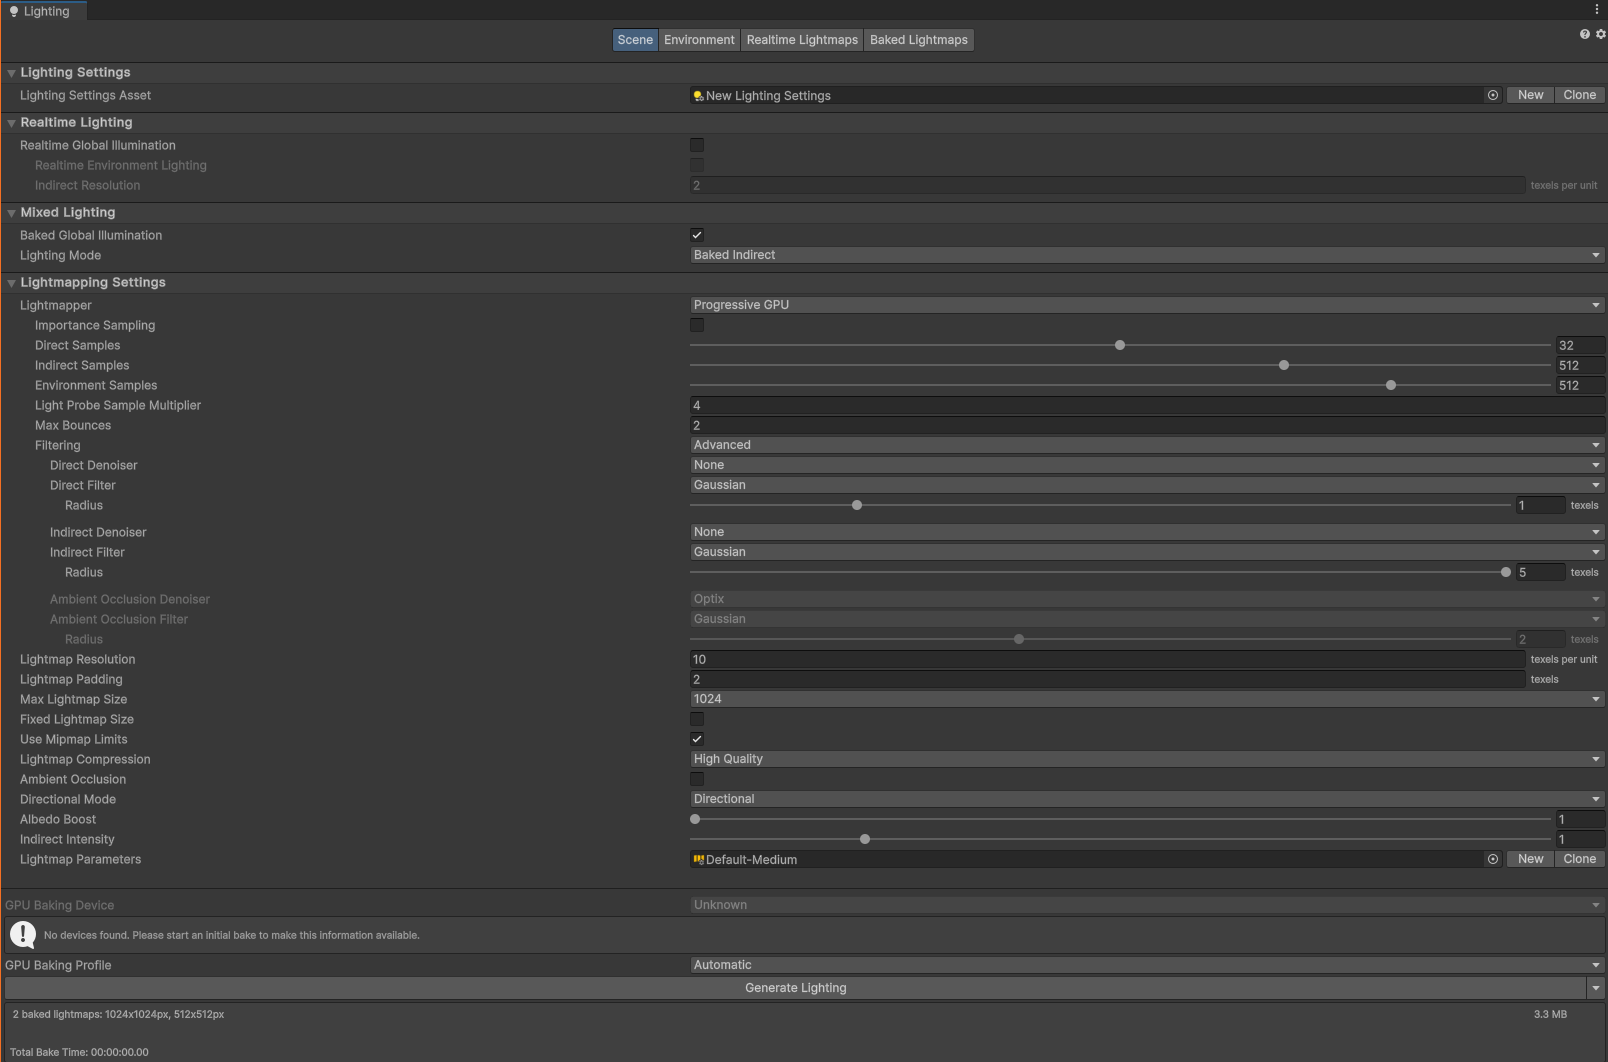
So the first thing I did was setup the the scene lighting settings to which I went to Window > Rendering > Lighting. Next, inside the Scene tab, I created a new Lighting Settings Asset and by clicking on New. Then I set Lighting Mode to Baked Indirect, Lightmapper to Progressive GPU so it would render on my RTX 3070, Set Indirect Samples and Environment Samples to 512, Changed filtering to Advanced, Set Direct Filter to Gaussian and set the Radius below it to 1 texels, Then I set Lightmap Resolution to 10 Texels per unit and Lightmap Padding to 2 texels. I'm not entirely sure these are all the settings I messed with so here is an image of the full thing below.
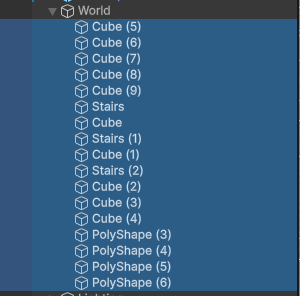
After setting all the settings, I set the the Terrain and the GameObject platforms to Static, since these weren't going to move by selecting them and enabling Static in the inspector like so...

Then I clicked on Generate Lighting in the Lighting window, To which it produced this result...
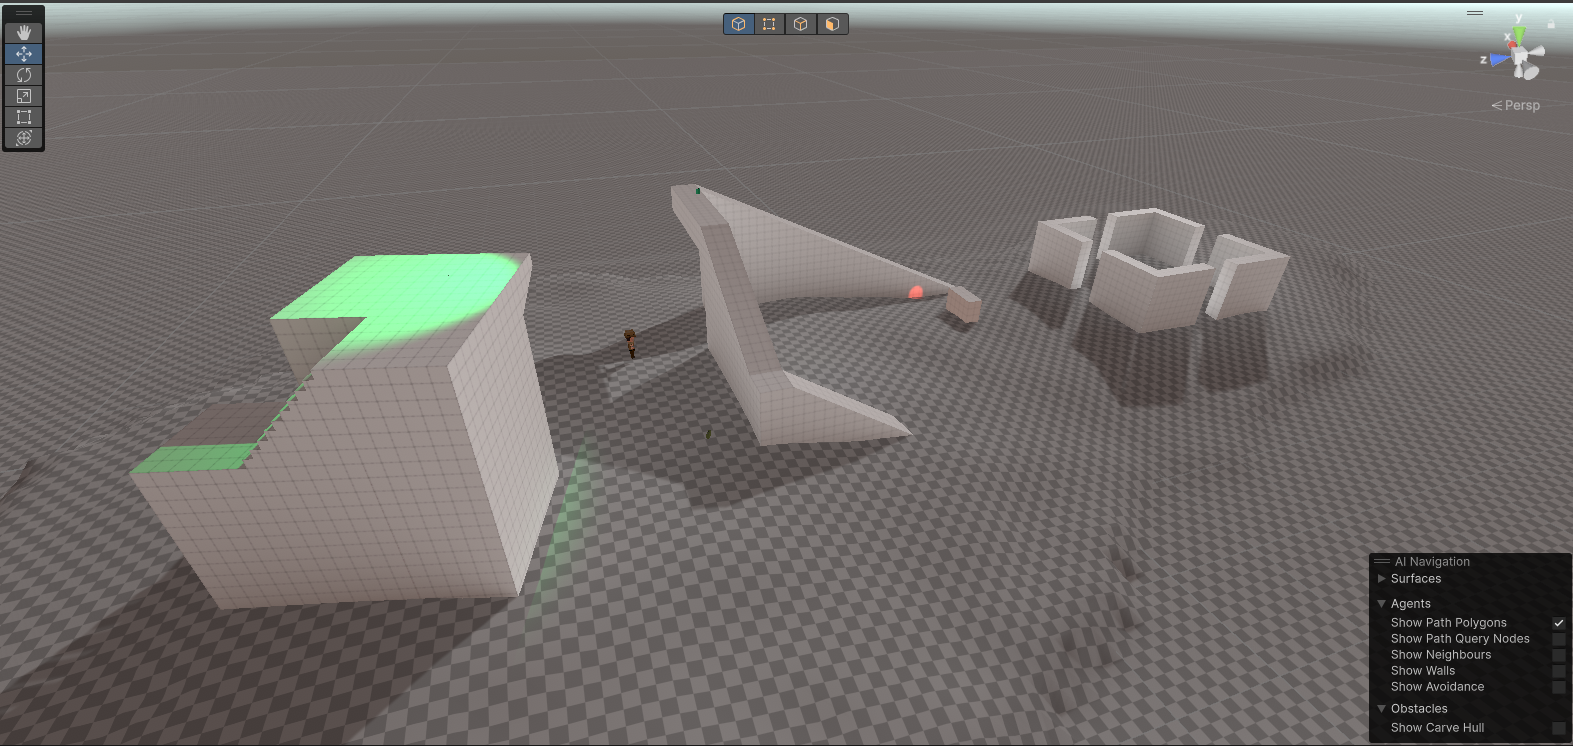
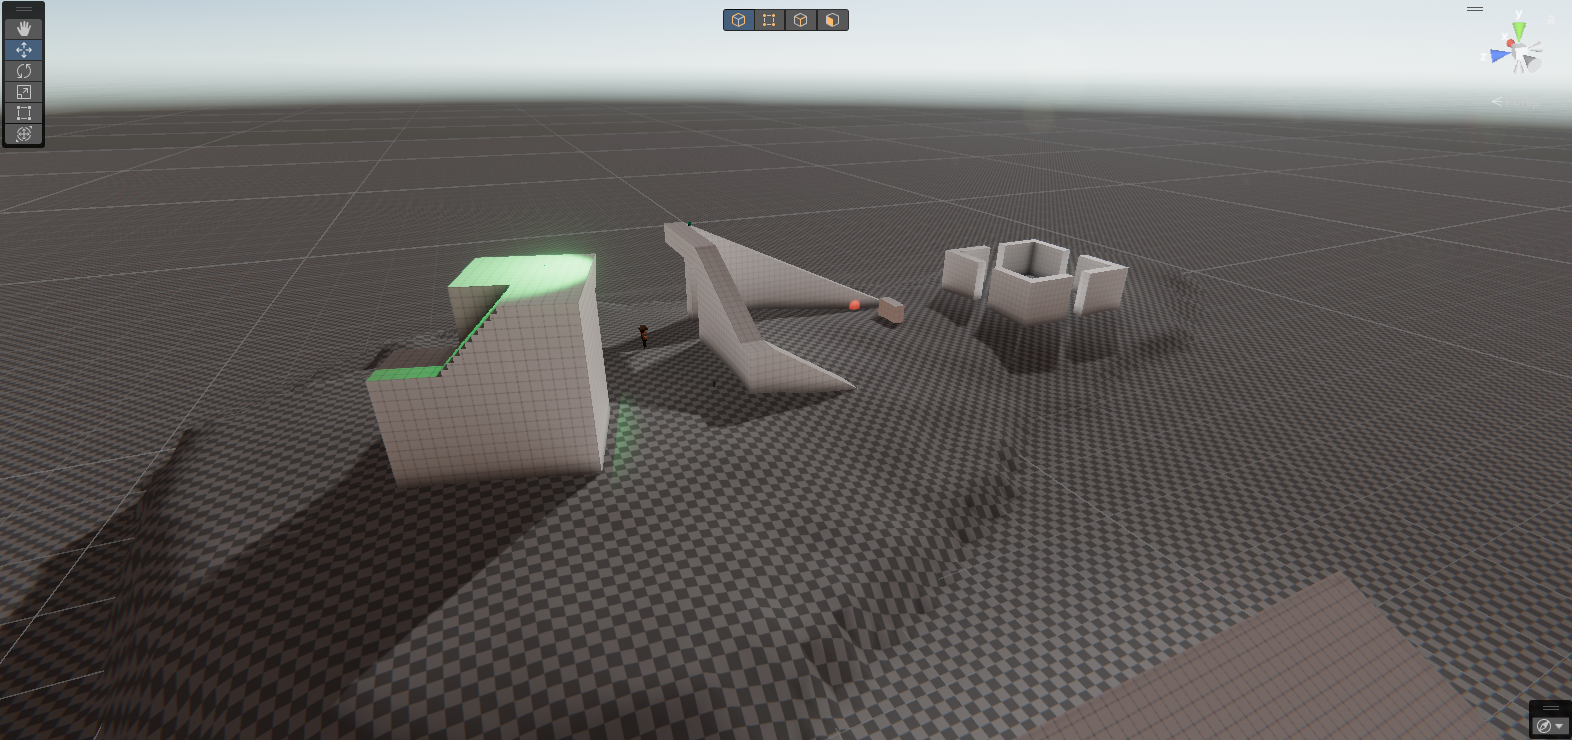
Much better than the default rendering, unfortunately it doesn't look great still, so I then enabled Ambient Occlusion in the Lighting window and set the Max Distance to 2. To which it produced after re-rending...

Of course there isn't too much of a difference, but it definitely looks like the objects are now part of the environment a bit better, So the next thing I did to skip ahead was to add post processing, There was a lot of fiddling and tweaking I did so I will just summarize.
First I created a GameObject and called it Post Processing, Then next I added the Post-Process Volume component to the GameObject and added the following effects by clicking on Add effect...
- Bloom - For making the lighting a bit more impactful.
- Colour Grading - For darkening the scene without darkening the shadows.
- Chromatic Aberration - Edge of field vision just to give it that extra detail.
Inside the Bloom effect, These are the settings I used.

Inside the Color Grading effect, These are the settings I used. Note... I didn't mess with any of the settings further down this effect.

Inside the Chromatic Aberration, These are the settings I used.

End result...
MUCH MUCH BETTER, Of course more settings could be tweaked but this is much better than what we had before. Before shot....
Extra Lights.
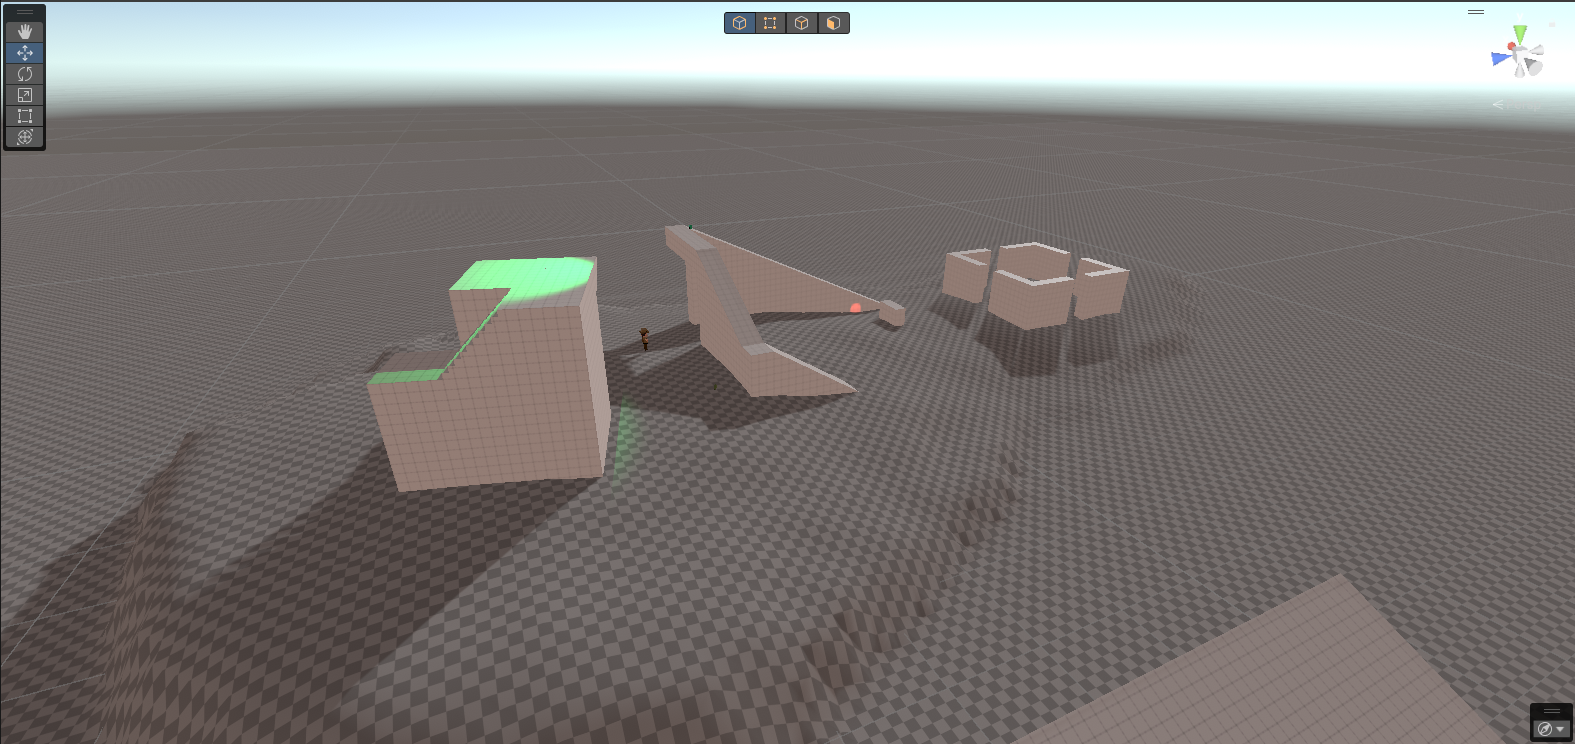
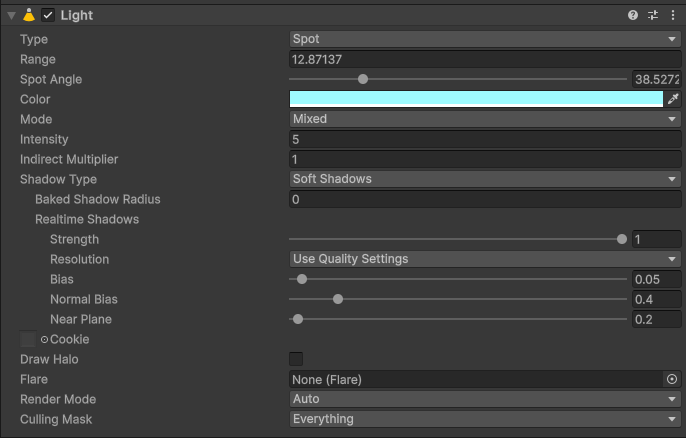
Now as you can see in the scene, I setup 2 spot lights (ignore the red one, it was a test.), One green on shining on top of the platform and one blue one (which you can't see from this angle) inside the room where I put a cup inside it. These were fairly simple to setup as I had to just create one by going to GameObject > Light > Spot Light then setting the color, intensity, range, size and setting the Mode to Mixed.

Of course the last thing to do was add an object with a ShaderGraph applied. Now since node editing is massive and there are so many options, I decided to create a portal from...
And put it on a wall, Because why not?
Then I just modified it so I didn't need to include the texture like so...
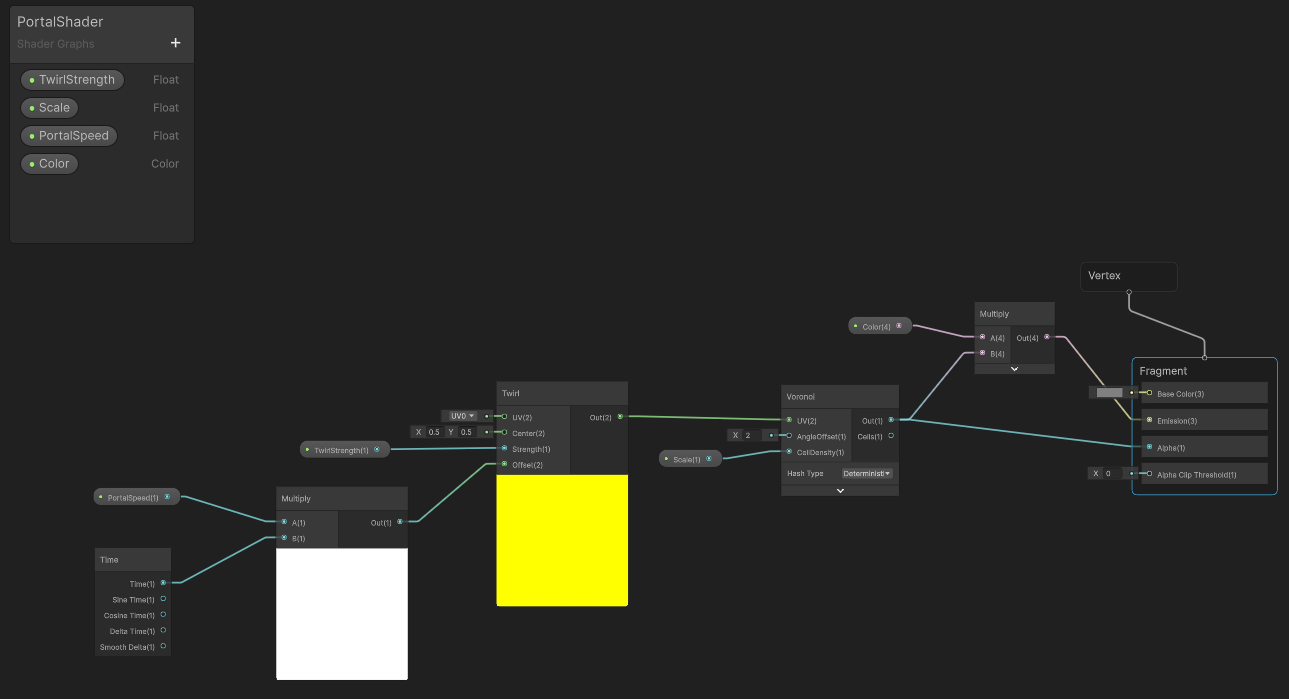
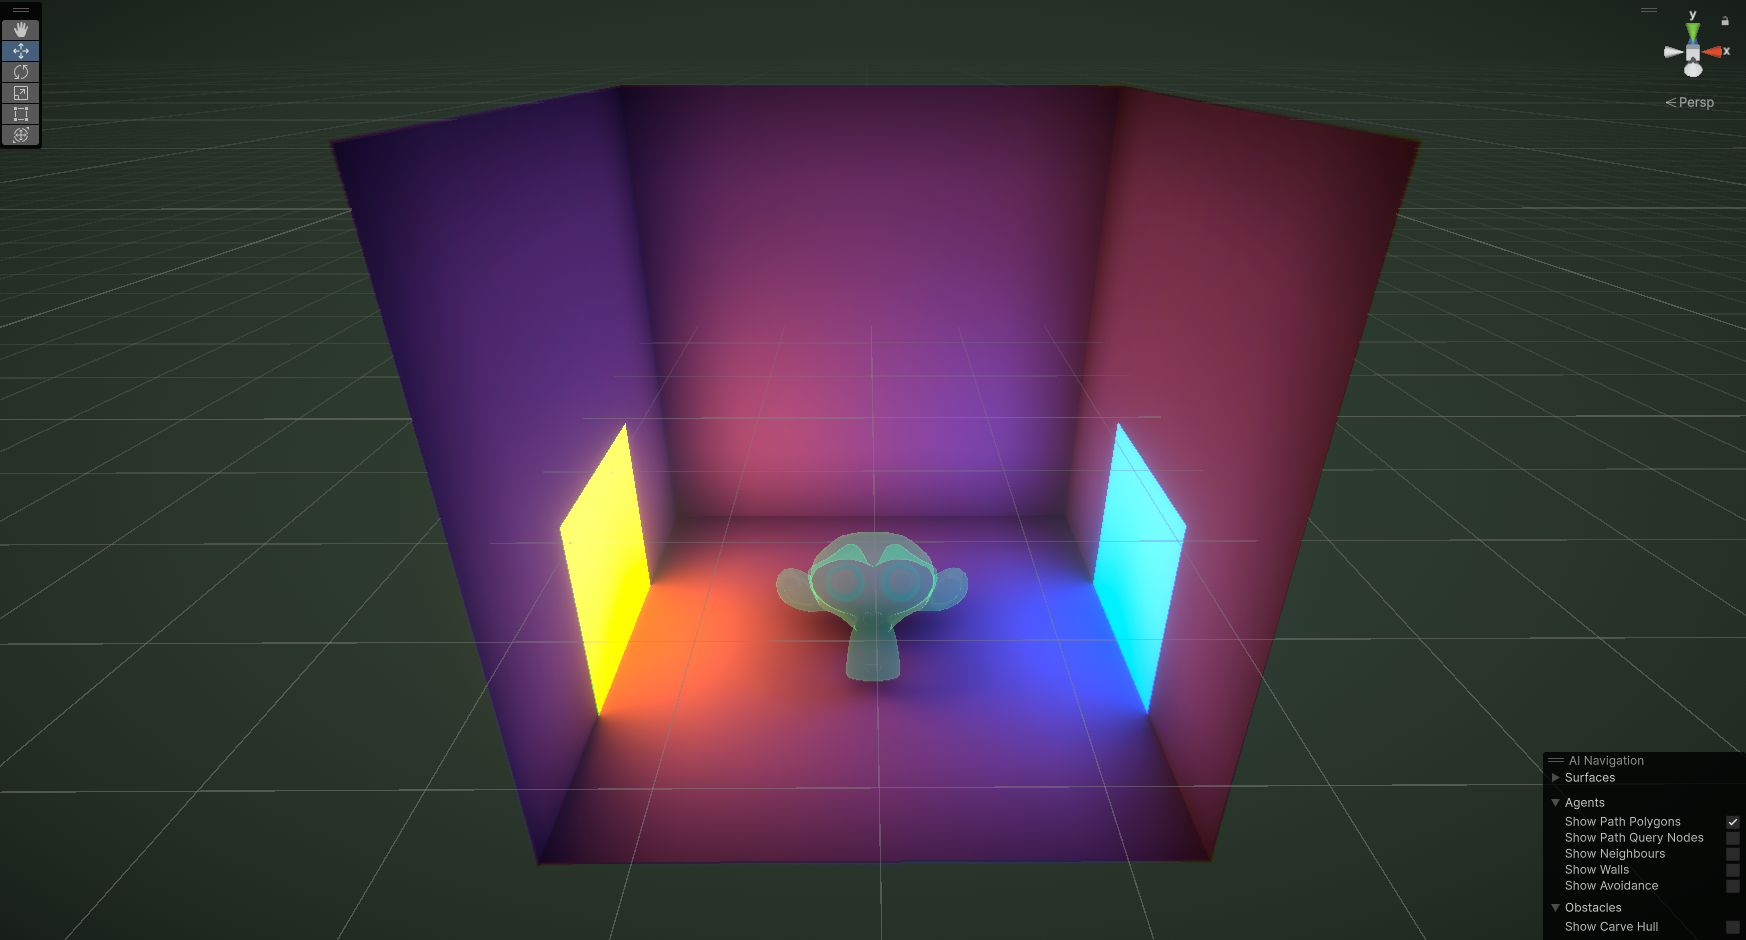
Now of course as you can see on the outputs there are Vertex and Fragment Shaders, This is different from the video which was using URP however since I already had a bit of experience in OpenGL shader coding, It felt like I was handling pretty much the same thing, And this is the end result...
Tutorial From Brackeys... (Yes I used the monkey head as the hologram. Also room is purple probably due to the rendering engine and the light bounces being pretty high.)
Leave a comment
Log in with itch.io to leave a comment.